Starting a podcast in 2026 is easier than it has ever been, and harder to do well than most guides admit. The tools are cheap or free. The difficult part is choosing a clear idea, sounding good, and showing up often enough to find an audience. This guide walks through all of it in order.
Step 1: Pick a concept you can sustain
A podcast is a promise to come back. Before gear, before artwork, decide three things:
- Who it is for. One listener, described specifically. "New parents who used to love long-form journalism" beats "everyone interested in parenting."
- What they get. A clear payoff per episode. Practical advice, a story, a laugh, company on the commute.
- Why you. Your angle, experience or voice. You do not need credentials, you need a point of view.
Write a one-sentence pitch and test it on three people. If they ask "so what is it about?", keep sharpening.
Step 2: Choose a format and length
Common formats, each with a trade-off:
- Solo. Easiest to schedule, hardest to keep lively. Works for expertise and commentary.
- Co-hosted. Natural energy and banter. Needs two reliable people.
- Interview. Fresh voices every week, but booking is a job in itself.
- Narrative or documentary. The most rewarding and by far the most work per minute.
Length should match the listening moment. 15 to 25 minutes suits a commute. 45 to 60 fits a long drive or a gym session. Pick a cadence you can hold for six months, which for most new shows means weekly or fortnightly.
Step 3: Gear that is good enough
You do not need a studio. You need a quiet room, a decent microphone and headphones.
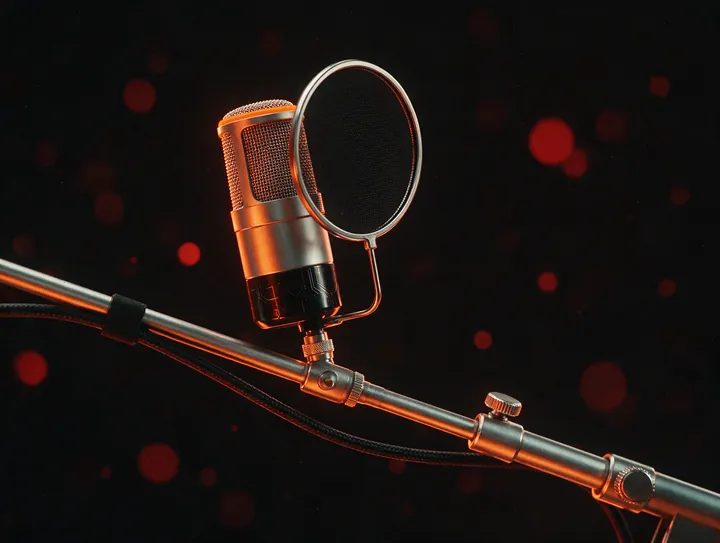
- Microphone. A USB dynamic mic in the 60 to 150 dollar range is the sweet spot for a home setup. Dynamic mics reject room noise better than condensers.
- Headphones. Any closed-back pair. They stop your speakers bleeding into the mic and let you hear problems as they happen.
- Room. Soft furnishings beat expensive foam. A wardrobe full of clothes is an excellent vocal booth.
- Pop filter or foam windscreen. Cheap, and it saves you from plosives.
If you are recording guests remotely, use a tool that records each person locally so a bad connection does not ruin the audio.
Step 4: Record properly
A few habits make editing dramatically easier:
- Keep the mic 10 to 15 cm from your mouth, slightly off-axis.
- Record a few seconds of silence at the start for noise reduction.
- Peak around -12 dB. Clipping cannot be fixed later. Quiet audio can be raised.
- Clap once at the start when recording multiple tracks so you can sync them.
- Do not stop for small mistakes. Pause, repeat the line, carry on. Cut it later.
Step 5: Edit without overdoing it
Editing is where most beginners burn out. Keep it light. Cut dead air, remove the worst ums, tighten the opening, add an intro and outro. Then level and master.
The mastering part used to need a sound engineer. In 2026 it mostly does not. AI Voice Studio on Witspeak Podcasts does one-tap noise removal, auto-levelling and mastering to -16 LUFS, the loudness standard most podcast apps expect. Run it on every episode and your show will sound consistent even when your recording room was not.
While you are there, let AI Show Notes and Chapters draft your episode description and chapter markers from the transcript. Edit the draft, do not publish it blind.
Step 6: Host it (free on Witspeak Podcasts)
A podcast host stores your audio files, generates your RSS feed and serves episodes to every app. This is the one thing you cannot skip.
Witspeak Podcasts offers free hosting with unlimited episodes, a web player and embeds for your site, and analytics that split downloads from streams and show you the apps and countries your listeners use. You manage everything from the creator studio at podcast.witspeak.com/studio.
Set up your show with:
- Show title and a 1 to 2 sentence description that leads with the listener benefit.
- Author name and a contact email (directories require it).
- Category and language.
- Artwork (next step).
- An explicit content flag if needed.
Step 7: Artwork and directory submission
Artwork rules are strict and directories reject feeds that break them:
- Square, between 1400 x 1400 and 3000 x 3000 pixels.
- JPEG or PNG, RGB colour space, under about 500 KB.
- Readable at thumbnail size. Big title, high contrast, no fine print.
Once your feed has at least one published episode, submit the RSS URL:
- Apple Podcasts. Sign in to Apple Podcasts Connect, add your show by RSS URL, and wait for review. Apple is the master directory for many smaller apps such as Overcast and Pocket Casts, which pull from it automatically.
- Spotify. Spotify for Creators accepts an RSS URL and usually lists the show within hours.
- YouTube Music. Add the RSS feed in YouTube Studio under podcasts. Episodes appear as audio with your artwork.
- Amazon Music. Submit via the Amazon Music for Podcasters portal.
Witspeak Podcasts walks you through each submission from the studio and keeps the links in one place.
Step 8: Launch checklist
Do not launch with one episode. Launch with three, so a new listener can binge and subscribe.
- Trailer published a week before launch.
- Three episodes ready, mastered and scheduled.
- Artwork approved, show notes written, chapters added.
- Feed live on Apple Podcasts, Spotify, YouTube Music and Amazon Music.
- Web player page and a short link ready to share.
- A 30-second clip of your best moment to post on social. AI Highlight Clips cuts these automatically and can drop them straight into the Witspeak voice feed.
- A plan for the first ten episodes, so week two does not catch you empty.
Start today
Everything in this guide can be done this weekend. Pick the concept, record one honest episode, let the AI studio clean it up and get it into the directories. Free hosting, unlimited episodes and the studio are waiting at podcast.witspeak.com/studio/signup.